Data Centre Decommissioning Checklist: 12 Steps From Rack to Certificate

A data centre decommission goes wrong in predictable places: a forgotten SAN shelf full of drives, a cable plant nobody mapped, drives that "definitely got wiped" with no serials on record. Whether you are closing a full facility, consolidating a server room, or exiting a colo cage, the sequence below is the one that keeps the project auditable from first rack to final certificate.
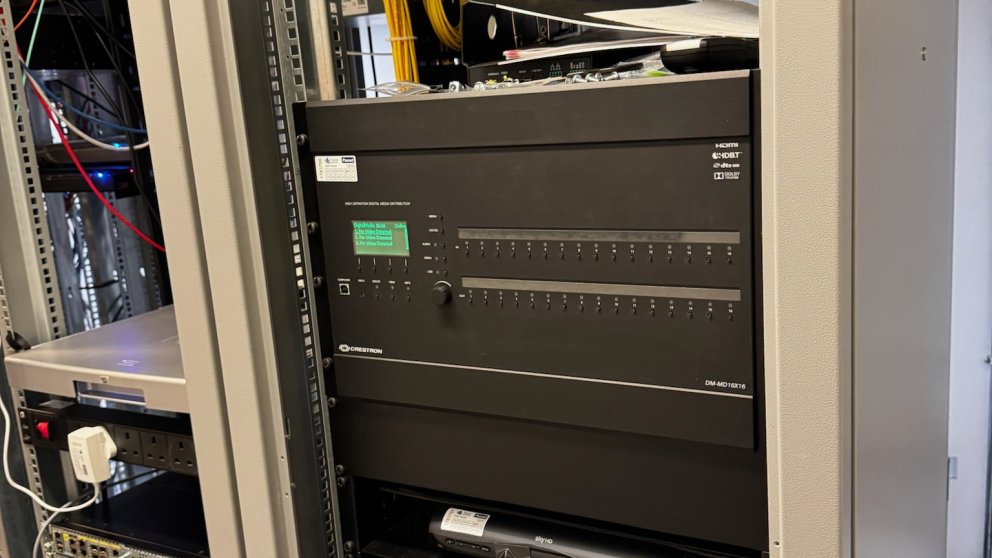
Phase 1 — Discovery (before anything is unplugged)
- Full asset discovery. Every server, switch, storage array, PDU, KVM, and tape — recorded by serial number, rack position, and data-bearing status. Discovery tools help, but physically walk the rows: decom projects consistently find 5–15% more kit than the CMDB claims.
- Classify each asset: reuse, resell, recycle, destroy. This decision drives everything downstream — resale kit needs careful handling and certified erasure; scrap needs compliant WEEE routing; high-risk media may go straight to physical destruction.
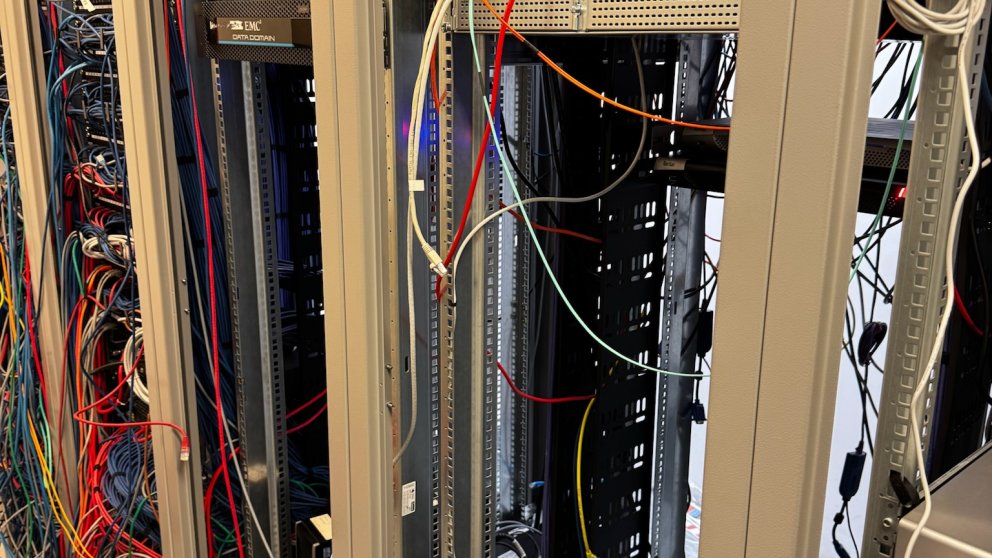
- Map dependencies and cables. Photograph every rack front and back before touch. Label both ends of every cable you will remove. The fastest way to turn a decom into an incident is unplugging something still in production in a shared facility.
- Agree the data-destruction standard up front. NIST SP 800-88 Rev.2 Clear/Purge for drives being reused or resold; physical shredding to BS EN 15713 / DIN 66399 H-5 for end-of-life or high-risk media. Write it into the scope so there is no debate mid-project — the NIST 800-88 explainer is the reference to circulate.
Phase 2 — Execution
- Backup, migrate, and verify before power-down. Confirm every workload has landed somewhere else and been tested. Then wait — a short soak period catches the service nobody remembered.
- De-rack in a controlled sequence. Power down, disconnect, and remove in planned order with two-person handling for heavy chassis. Asset tags scanned at the rack, not later from memory.
- Quarantine data-bearing media immediately. Drives come out into sealed, asset-tagged containers under chain of custody. Drives left loose in a de-rack area are how serial numbers go missing from certificates.
- Sanitise or destroy with verification. Erasure with per-drive verification reports for the reuse/resale pool; witnessed shredding available for the destruction pool. Either way, serials in, serials out, certificate at the end.
- Remove the infrastructure. Cabling, containment, UPS units and their batteries (hazardous — they need consignment notes), racks themselves if the space is being handed back.
Phase 3 — Closeout
- Recover residual value. Recent-generation servers, storage, and networking gear have real resale value — see server recycling and disposal and networking equipment disposal for what holds value. A fair revenue-share can offset a meaningful share of project cost.
- Complete the WEEE paperwork. Waste Transfer Notes for every waste movement, Hazardous Waste Consignment Notes for batteries and any refrigerant-bearing kit, downstream treatment evidence from the AATF.
- File the closeout pack. Asset manifest, chain-of-custody record, per-device certificates of erasure or destruction, WTNs, and the value-recovery statement — one pack, matched against your original discovery list. When internal audit or a client asks "what happened to rack B12?", the answer is a page reference, not a shrug.
Where projects usually slip
- Storage arrays. Shelves of nearline drives are the single biggest data-risk item and the most commonly under-inventoried.
- Switches and firewalls. Configs hold credentials, certificates, and network maps — they need config wipe or destruction too, not just a factory reset hope. See networking disposal.
- Colo logistics. Loading-bay slots, insurance certificates, and site inductions take longer to arrange than the de-rack itself. Book early.
- Certificates that don't match the manifest. If a serial appears on your discovery list but not on any certificate, you have an open risk item.
TFix runs decommissioning as a documented project — de-racking, drive quarantine, certified destruction or erasure, WEEE compliance, and value recovery with a single closeout pack. See our IT decommissioning service, the walkthrough in what actually happens to your servers, and certified data destruction for the evidence layer.
Ready to act on this?
Book a free ITAD assessment, compare your destruction options, or review provider-selection guidance before choosing a partner.
Need help with this in your organisation?
Book the matching service directly based on this article topic.